How to Create a Digital Loyalty Card - Getting Started with Stampp.It

Thomas
Published on 18/09/2024
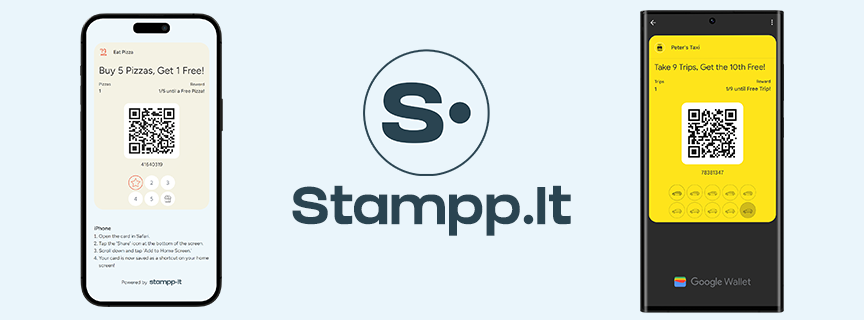
Creating a digital loyalty card with Stampp.it is a powerful way to boost customer retention and streamline your rewards programme. It not only offers convenience for your customers but also simplifies management for you. With Stampp.it, you can easily create a branded digital card, track stamps, and integrate with Google Wallet, all while benefiting from a modern, efficient system.
Benefits of Using Stampp.it
- Enhanced Customer Engagement: Digital cards are easy for customers to access and manage, increasing participation in your loyalty programme.
- Convenience: Customers can add their cards to Google Wallet for quick access.
- Efficient Management: Streamline the stamping process and track customer interactions effortlessly.
- Customisable Design: Tailor the card to match your brand and rewards programme.
1. Sign Up and Start Your Free Trial
Begin by setting up your Stampp.it account:
- Visit Stampp.it: Go to Stampp.it and click on ‘Get Started’.
- Create an Account: Enter your business details to create your account.
- Start Your Free Trial: Choose the option to start your free trial and explore Stampp.it’s features.
2. Enter Your Business Name
Set up your business profile:
- Log In: Access your Stampp.it dashboard with your new credentials.
- Enter Business Name: Go to the setup section and input your business name as you want it to appear on your digital loyalty card.
3. Customise Your Digital Loyalty Card
Personalise your card to reflect your brand and loyalty programme:
- Navigate to Customisation: Click on the ‘Customise’ tab in your dashboard.
- Upload Your Logo: Add your business logo to make your card stand out.
- Choose Colours: Select background and foreground colours that match your brand, ensuring good contrast and readability.
- Edit Text: Customise the text fields to include details about your rewards programme, such as the number of stamps needed for a reward and any other relevant information.
4. Set Up Your Loyalty Programme
Define the rewards structure for your card:
- Use the Template: Choose the ‘Buy X get Y’ template to set up your rewards.
- Configure Rewards: Specify the number of stamps required to earn a reward and the details of the rewards offered.
5. Save and Publish Your Card
Finalise your digital loyalty card:
- Preview Your Card: Review your customisations to ensure everything looks correct.
- Click ‘Save’: Press ‘Save’ to apply your changes and publish your digital loyalty card.
6. Distribute and Manage Your Card
Make your card accessible and manage interactions:
- Access the Card Link: Provide customers with the URL stampp.it/[your-business-name] to access their digital loyalty card.
- Add to Google Wallet: Encourage customers to add their card to Google Wallet for convenient access.
- Scan and Stamp Cards: Use Stampp.it’s scanning feature to add stamps to customer cards when they show them during visits.
7. Use the Progressive Web App (PWA)
Enhance your business operations with Stampp.it’s Progressive Web App:
- Install the PWA: Businesses can install the PWA on their phones for easy management of digital loyalty cards. For setup instructions, visit our guide on setting up the PWA.
8. Add Team Members
Collaborate efficiently with your team:
- Manage Members: Add up to 4 team members as Staff to help manage the loyalty programme. Staff members can assist with stamping and viewing stamp history. For detailed instructions, check out our guide on setting up members.
Conclusion
Creating a digital loyalty card with Stampp.it is simple and effective. By following these steps, you can set up a customised loyalty card that not only enhances customer engagement but also simplifies your management process. Start today to enjoy the benefits of a modern loyalty programme!