How to Customise Your Digital Loyalty Cards - A Step-By-Step Guide using Stampp.It

Thomas
Published on 19/09/2024
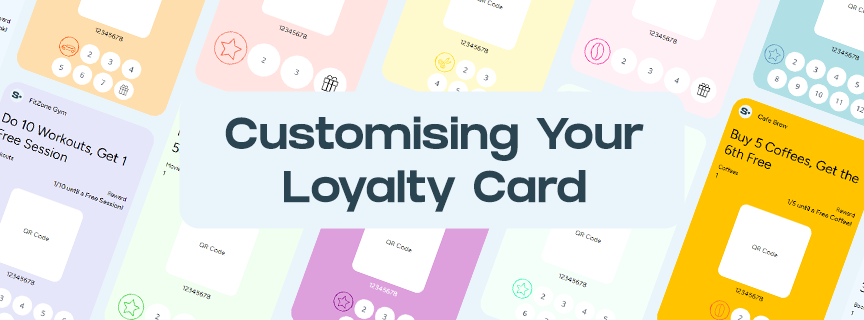
Customising your digital loyalty cards with Stampp.it allows you to create a unique and engaging experience for your customers. Follow this detailed guide to tailor your card to your brand and loyalty programme needs.
1. Access the Customisation Tab
Start by logging into your Stampp.it account:
- Log In: Go to Stampp.it and log into your account.
- Navigate to Dashboard: Click on your profile or business name to access the dashboard.
- Go to Customisation: Click on the ‘Customise’ tab in the left-hand menu to open the card customisation options.
2. Upload Your Logo
Adding your business logo enhances brand recognition:
- Click ‘Upload Logo’: Locate the section for logo customisation.
- Select Your Logo: Click on the ‘Upload’ button and choose your logo file from your computer.
- Adjust Size and Position: Resize and reposition your logo as needed to fit your card design.
3. Choose Your Colours
Personalise the colour scheme of your card to match your brand:
- Background Colour: Select a background colour for your card. This will be the main colour visible behind all other elements.
- Foreground Colour: Choose a foreground colour for text and other elements to ensure they stand out against the background.
- Preview Colours: Use the preview option to see how your chosen colours look together and make adjustments if necessary.
4. Customise Card Text
Add and format text to convey your loyalty programme details:
- Edit Text Fields: Click on the text fields to enter or edit information like card name, reward details, and instructions.
- Font and Size: Adjust the font style and size to match your branding and ensure readability.
- Preview Changes: Check how the text looks on the card and make any necessary adjustments.
5. Set Up Rewards and Stamps
Define the reward structure for your loyalty programme:
- Select Reward Template: Choose the ‘Buy X get Y’ template for setting up your reward criteria.
- Configure Stamps: Enter the number of stamps required to earn a reward, e.g., “Buy 10 coffees, get 1 free.”
- Add Rewards: Specify the rewards customers will receive once they reach the required number of stamps.
6. Save Your Customisations
Ensure your changes are saved and applied:
- Review Your Card: Double-check all the customisations to ensure everything looks as desired.
- Click ‘Save’: Press the ‘Save’ button to apply your changes and update your digital loyalty card.
7. Publish and Share Your Card
Make your customised card available to your customers:
- Access the Card Link: Go to stampp.it/[your-business-name] to view your customised card.
- Share with Customers: Provide the link to your customers so they can access and add the card to their Google Wallet.
Conclusion
Customising your digital loyalty cards with Stampp.it is a straightforward process that enhances your customer engagement. By following these steps, you can create a card that not only looks great but also effectively promotes your loyalty programme. Start customising today and see how it transforms your customer interactions!